
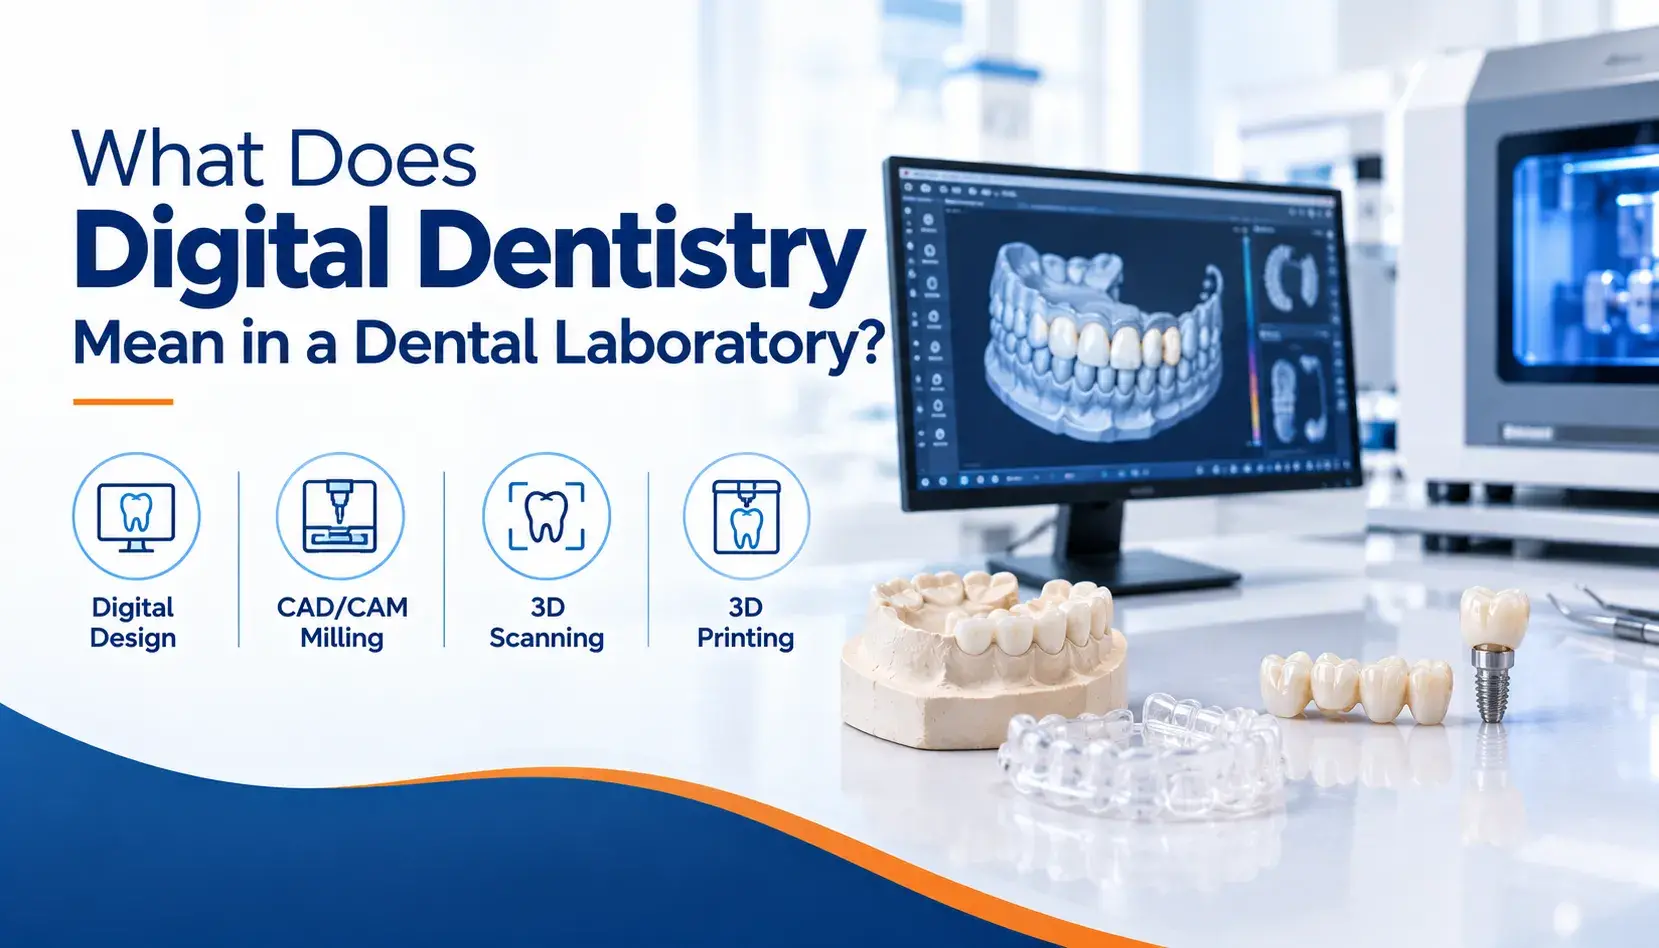
Digital dentistry in a lab involves three separate things, and they get collapsed into one word constantly. Capture turns the mouth into a file. Design turns that file into a restoration shape. Fabrication turns the design into a physical unit.
A lab can be strong at one and weak at another. A scanner in your operatory only covers the first. Everything after it still happens at the bench, and a surprising amount of it is still a person deciding something.
Here is how the three stages differ, what runs between them, and where a scan on its own stops being enough.
The Three Stages in Short
- Capture is data collection only. A scan records surfaces, nothing more.
- Design is where a technician sets margins, contacts, and occlusion. Software proposes; a person decides.
- Fabrication is milling, printing, or casting, followed by sintering and finishing.
- Single-unit scans match or beat conventional impressions. Full-arch accuracy is where the gap reopens.
- A scan alone cannot supply shade, occlusal intent, implant platform, or tissue you did not retract.
Digital Capture: Turning the Mouth Into a File
Capture is a surface recording. An intraoral scanner stitches thousands of small three-dimensional frames into a single mesh, then exports it, usually as an STL or PLY file.
What that file contains is geometry. It holds the shape of everything the camera saw, at the moment it saw. It does not hold colour in any usable clinical sense, it does not hold how the patient functions, and it does not hold anything the camera could not see.
That last point is where most rejected cases originate. Tissue creeping over a margin, saliva pooling in the sulcus, blood at the prep line. The scanner records those as real anatomy, because to the scanner they are.
Accuracy depends heavily on span. For single units, the research is settled: intraoral scans match or exceed conventional impressions. Across a full arch the picture changes. An in vitro comparison of seven current scanners found full-arch trueness ranging from 24.5 µm for conventional impressions up to 95.0 µm for the weakest scanner, with every scanner staying under 100 µm but conventional impressions still coming out ahead.
For full-arch implant work, a 2023 meta-analysis put the accepted clinical threshold at 200 µm of linear accuracy, which most current systems reach.
Scanner brand matters less than most marketing suggests. A systematic review of full-arch digital impressions found the systems studied performed comparably, with no clear preference emerging. Technique and case selection carry more weight than the badge on the cart.
Digital Design: Where a Technician Still Decides
This is the stage people assume is automated. It is the least automated of the three.
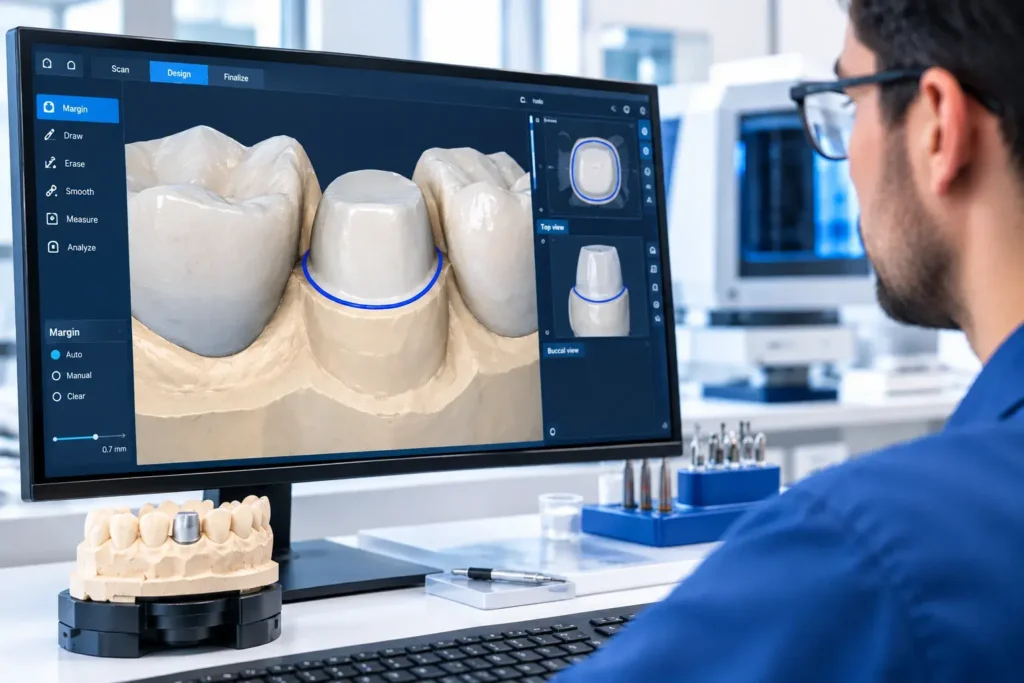
The file lands in design software, usually exocad or 3Shape. From there, a technician works through a sequence of judgment calls:
- Margin marking. The software proposes a line. A technician confirms or corrects it, and on a subgingival or partially obscured margin, that correction is the whole case.
- Die spacing and cement gap. Set numerically, but chosen based on material, cementation protocol, and how the lab knows its own mill behaves.
- Proximal contacts. Tightness is a deliberate value, not a default.
- Occlusal scheme. Static contacts, excursive guidance, and clearance against the opposing arch.
- Anatomy. Cusp form, ridge placement, emergence, and how much of it survives the material’s minimum thickness.
Design is also where a case gets flagged. Insufficient occlusal clearance, an undercut that blocks the path of insertion, a connector space too small for the span. None of that is visible to you at the moment of scanning. It becomes visible when someone tries to build a restoration inside it.
Digital Fabrication: Milling, Printing, Sintering
Fabrication is where the design becomes an object, and the route depends on material.
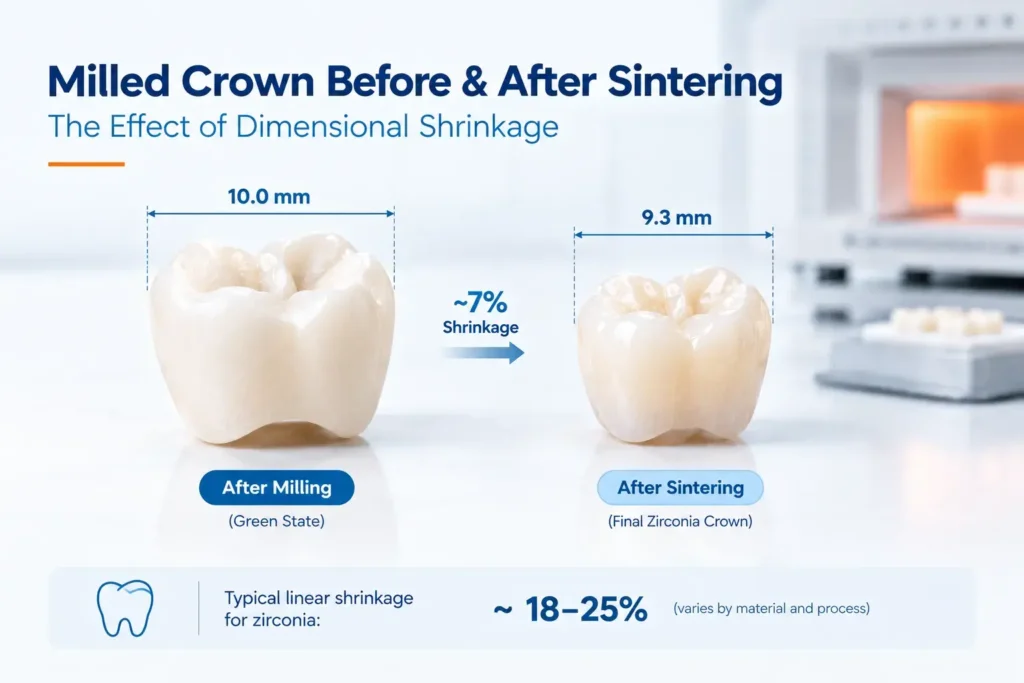
Milling cuts the restoration from a solid blank. Full-contour zirconia is milled oversized because zirconia shrinks predictably during sintering and the mill has to compensate before the furnace does its part. Lithium disilicate is milled in a soft state, then crystallised in a separate firing.
Printing builds additively, layer by layer. It suits models, trays, surgical guides, try-ins, and increasingly denture bases.
Casting still exists, and still matters. Full cast crowns and cast partial frameworks are waxed digitally, printed in castable resin, then invested and cast in metal. The front half is digital, the back half is not.
Finishing is manual across all three routes. Staining, glazing, contact adjustment, and polishing happen by hand.
From Scan File to Finished Unit
The sequence, in order:
- File arrives and is checked for margin visibility, tissue interference, and whether the prescription matches the case
- Model work, either a printed model or a fully modelless workflow depending on the restoration
- Design in CAD, with the decisions listed above
- Nesting into the blank or the print platform, positioning for sprue placement and grain direction
- Milling or printing
- Sintering or crystallisation, where applicable
- Finishing and characterisation by hand
- Quality control, fit verified, contacts and occlusion checked, then dispatch
Steps one, three, seven, and eight are all human. The machines handle four through six.
What a Scan Alone Can Do
- Record prep geometry accurately enough for a single crown to fit without a physical impression
- Capture adjacent and opposing teeth for contact and occlusal reference
- Replace a model entirely on straightforward single units
- Document a case before treatment starts
- Transmit in minutes rather than shipping days
What a Scan Alone Cannot Do
This is the part worth prescribing around.
- Shade. Scanner colour data is not a shade match. Send photographs, taken before the tooth dehydrates.
- Occlusal intent. The scan records where teeth are, not what you want the restoration to do in excursion. Write it down.
- Implant platform. A scan body records position. It does not tell the lab the manufacturer, product line, or connection type, and those are listed on the Rx form for that reason.
- Tissue you did not move. If the margin is under tissue, the scan captures tissue. No software recovers a surface that was never recorded.
- Material selection. That is a clinical decision, and it stays with you.
- Patient-specific context. Parafunction, aesthetic expectations, and previous failures are all invisible in geometry.
Where Digital Still Loses to Analog
Being honest about this is more useful than selling the workflow.
- Full-arch edentulous cases. Scanners struggle with mobile mucosa and the absence of fixed landmarks. Border molding still records functional depth better.
- Deep subgingival margins where retraction is difficult.
- Long-span implant frameworks, where cumulative stitching error across the arch still favours a verification jig.
- Complex removable cases needing functional border detail rather than static geometry.
A fully digital lab that admits this is more useful than one that does not.
How to Tell If a Lab Is Genuinely Digital
Digital is a spectrum, and the word is used loosely. Useful questions:
- Is design done in-house, or outsourced to a design service?
- Is milling in-house, or sent to a production centre?
- Which scanners and file formats do you accept, and are there export settings you prefer?
- Who do I speak to when a scan gets flagged?
- Do you print models, work modelless, or both, and how do you decide?
A lab whose digital department exists only to mill posterior units is a milling operation with software attached, not an integrated workflow. The distinction shows up in how a full-service lab routes a case between departments.
Where This Leaves Your Cases
Digital dentistry in a lab is not one capability. It is capture, design, and fabrication, and a lab can be genuinely excellent at one while outsourcing another.
The scan you send is raw material, not a restoration. It carries geometry and nothing else, which is why the prescription still decides the outcome on shade, occlusion, material, and implant platform. Send those deliberately, and the digital part of the workflow does what it is good at.
American Dental Laboratory has designed, milled, and finished restorations in-house in Richardson, Texas since 1986. To check scanner compatibility or talk a digital case through before you send it, call 972.276.5356.
Questions We Get Asked
Is a digital impression as accurate as a conventional one?
For single units, yes, and often better. Across a full arch, conventional impressions still show higher trueness, though current scanners stay within clinically accepted thresholds for most indications.
Do I still need to send a model?
Often not. Straightforward single units can run modelless. Multi-unit cases, implant restorations, and anything requiring physical verification usually still benefit from a printed model.
Can any lab open my scanner’s files?
Most labs accept the common open formats. The constraint is usually the export setting rather than the scanner brand. Send a test case before committing patient time.
Why did my scan get rejected?
Almost always the margin. Tissue, fluid, or blood obscuring the finish line reads as anatomy to the scanner, and no design software recovers a surface that was never captured.
Is a milled restoration better than a printed one?
They serve different purposes. Milling suits definitive ceramic and metal restorations. Printing suits models, guides, trays, and provisionals. The question is usually which is appropriate, not which is better.